Building a genuinely SEO-friendly website from scratch, where it’s easy to implement on-page SEO essential and achieve fast SEO results, is challenging for both marketing and dev teams. Even though popular CMSs like WordPress and Wix rolled out important updates improving native SEO functionality, they still lack many out-of-the-box features. For instance, you can’t manage meta robots directives (nofollow/dofollow) or set canonical URLs in these CMS systems.
To update on-page SEO essentials like these, developers must rely on numerous plugins that can slow down the website's performance. Moreover, plugins can raise website maintenance expenses and can crash unexpectedly.
If you are building from scratch or migrating your website to Webflow, you should explore Webflow SEO capabilities to ensure you can cover all of your SEO needs. Our team finds Webflow exceptionally flexible and worthwhile in terms of on-page SEO optimization. That’s why we’ve compiled an overview that represents Webflow’s native SEO functionality and reveals some advanced SEO practices.
Webflow’s Low-Code SEO Advantages
Webflow’s low-code stack allows marketing and design teams to let go of the constant dependence on developers. Consequently, you can easily experiment with Webflow SEO by editing content and visual elements directly impacting website search rankingsand CRO.
On top of that, Webflow’s clean code helps search engine bots to crawl your website faster, improving its indexing and search visibility. As a result, you can expect increased CTR as your high-converting landing pages become easily discoverable.
Webflow SEO vs WordPress SEO
The fundamental distinction between WordPress and Webflow is that the latter generally works faster. The WordPress plugins add considerable code debris to the initial content of the page, which can impede loading speed.
On the other hand, Webflow’s clean coding prevents redundant code. The CMS has integrated tools to compress HTML, CSS, and JavaScript, making code scanning easier for Google crawlers.
Additionally, Webflow websites are rendered server-side, unlike those that run on WordPress. WordPress-built sites retrieve PHP resources whenever a user “requests” the page. In contrast, Webflow websites that are “published as flat” load faster as they don't deploy client-side resources. Thus, they ensure faster response times and better Google’s PageSpeed Insights metrics.
How do I make a website SEO friendly?
To make a website SEO-friendly, you need to improve its structure, content, and technical elements to make it better accessible for search engines and people search intent.
Webflow offers two separate workspaces for site template editing:
Webflow Designer allows to create and manage static, dynamic, and utility pages. It also provides a visual editing toolkit to customize website layout in general and organize crucial UI elements. This is where you will add most of the necessary on-page elements for Webflow SEO so that you can work with them in the Editor mode later.
Webflow Editor is perfect for editing content elements like headings, contextual links, text blocks, and icons. It mostly serves on-page editing purposes, the situations when you need to make minor fine-tuning.
Think of Webflow Designer as a skeleton builder for both visual and SEO elements and of Webflow Editor as actual muscles that you can build, change, and influence in every way possible. Both Designer and Editor systems are intuitive and easy to use, and you will get the hang of them quickly.
Here are the ten steps to set SEO optimization essentials for an SEO-friendly website on Webflow.
#1. Meta Title and Meta Description
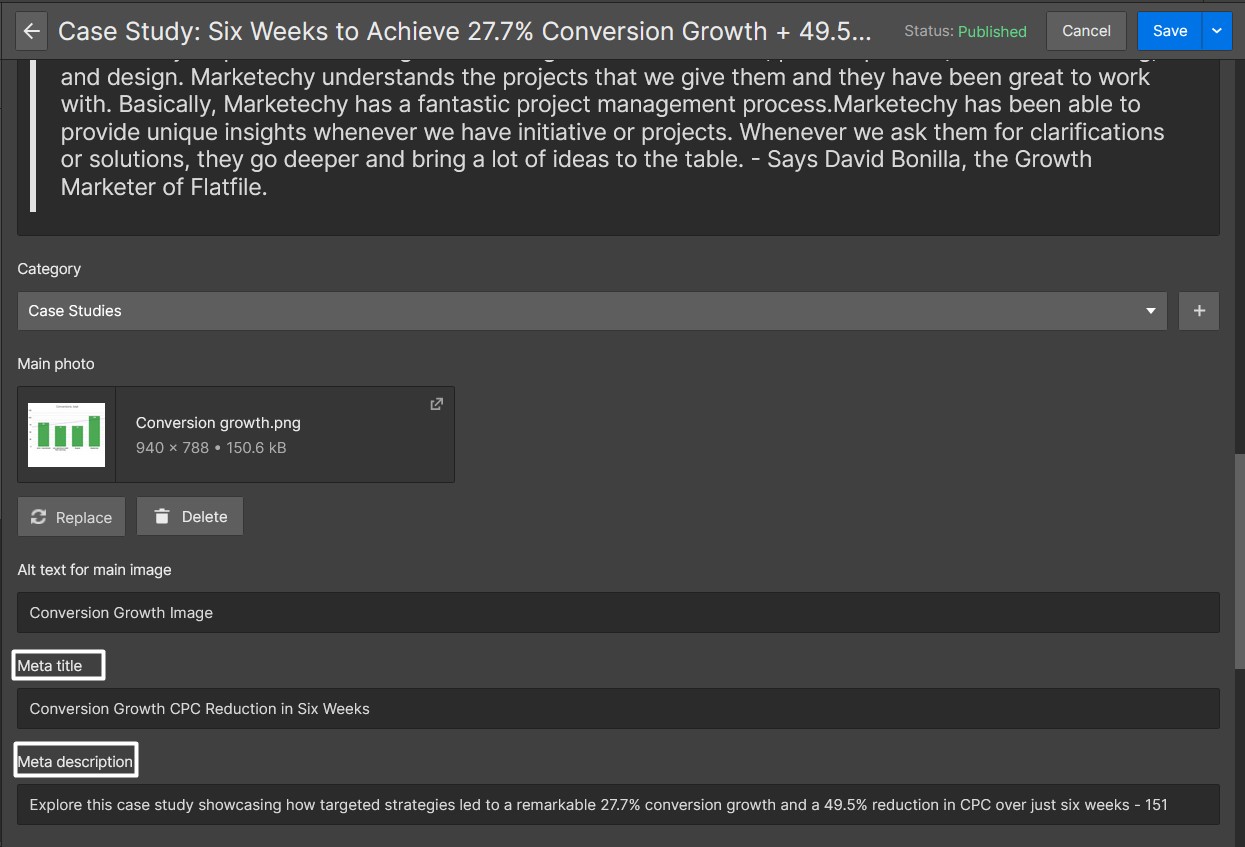
When creating new static pages and publishing blog articles, you can fill out meta title and meta description fields in real-time. These elements are one of the core Webflow SEO ranking factors as they form SERP and social media snippets that tease page content and grab users’ attention.
There are certain tech requirements regarding text length and recommended character use for meta title and meta description tags. We’ve listed them in our on-page SEO checklist and strongly recommend that you note them. Fulfilling these requirements will ensure that Google will take them to the search index as they are, without reduction or replacement.
Another aspect worth keeping in mind is making title and description texts relevant, representing clear benefits to users. For title text, try to place the main keyword in the first 30 characters and keep expressions simple and on point. Mention the competitive advantage or unique sales proposal in the description to make it look more like an ad copy. It significantly increases the chances of people visiting your site from the search results page.
Screenshots below show where you can fill out meta title and description fields while creating a static page:

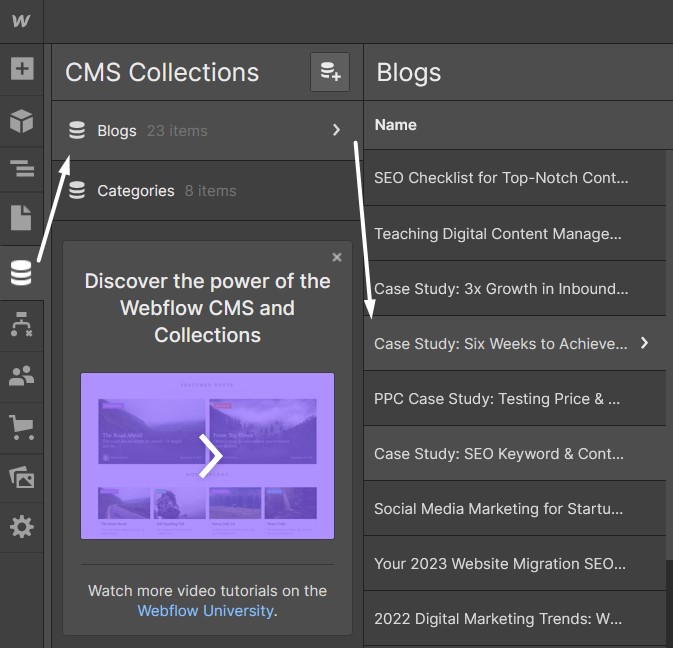
And this is where you can find corresponding fields while editing a blog post:
#2. Proper Hierarchy of Headings and Subheadings
Webflow Editor provides native controls over H1 heading and contextual subheadings, H2 to H6. It’s essential to enrich your text content with headings so that both search engine crawlers and humans can understand that the main topic is broken down into subtopics. And always remember to follow the top-to-bottom approach with Webflow SEO headings: The H3 tag shouldn't go before H2 and H1.
We recommend you create subheadings that reflect the context of text sections. Also, don’t opt out of placing keyword variations and related keywords into the H1 header and subheadings. It’s a sure way to make SEO text semantically rich and increase the chances that the page will be visible for several long-tail or relevant search queries.
You should first add new text sections to set necessary headings on a new page. Follow the Navigation tab from the Designer’s sidebar, choose Section > Container, and create a new div item, marked as Component here:
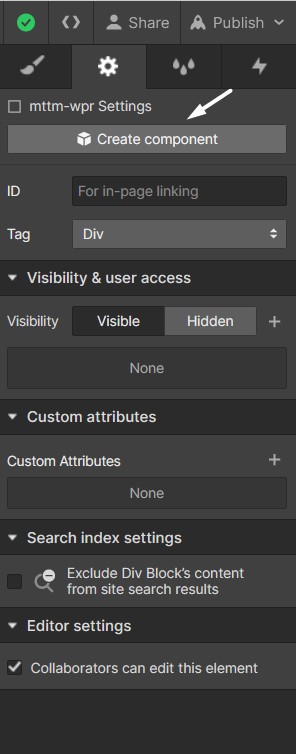
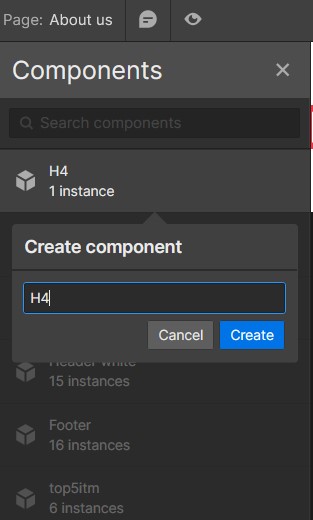
Then name it and adjust preferable styles to your Webflow SEO heading to make it noticeable.

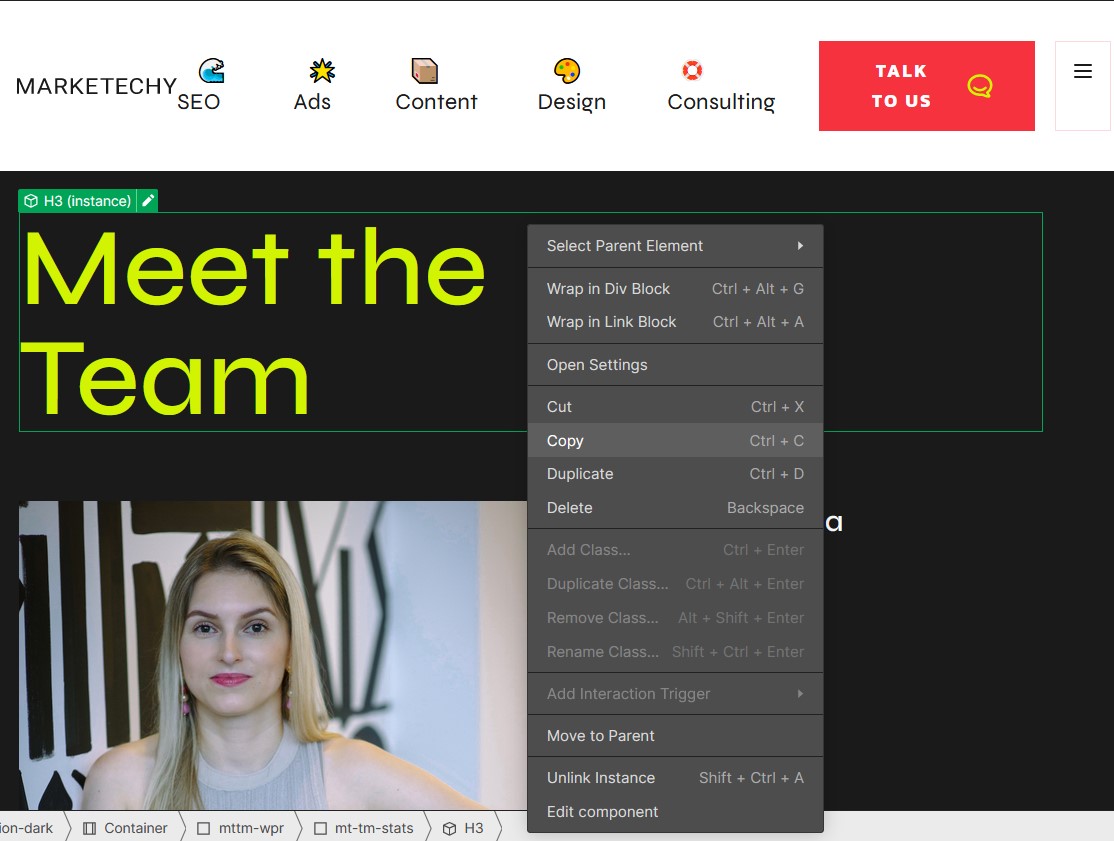
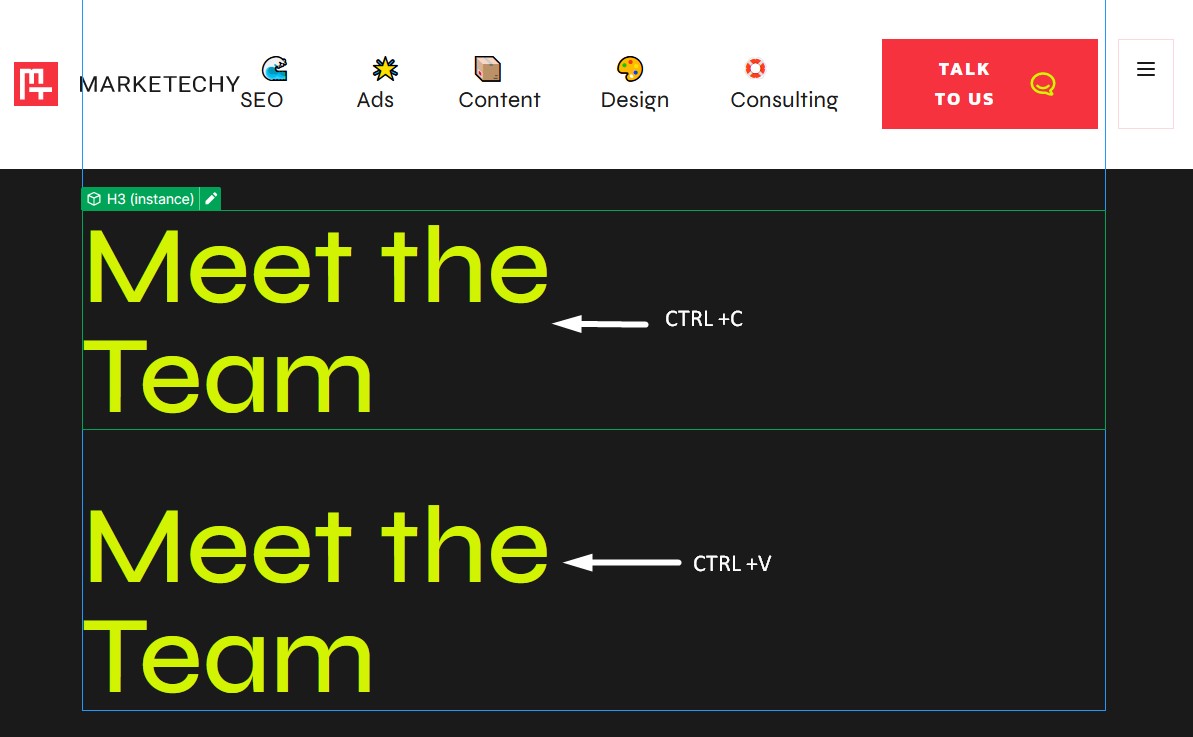
To put a missing heading block in place, simply copy-paste the recently created one across the page.
In case recently published headings don’t seem right to you, just open the Editor to tweak them to your taste:

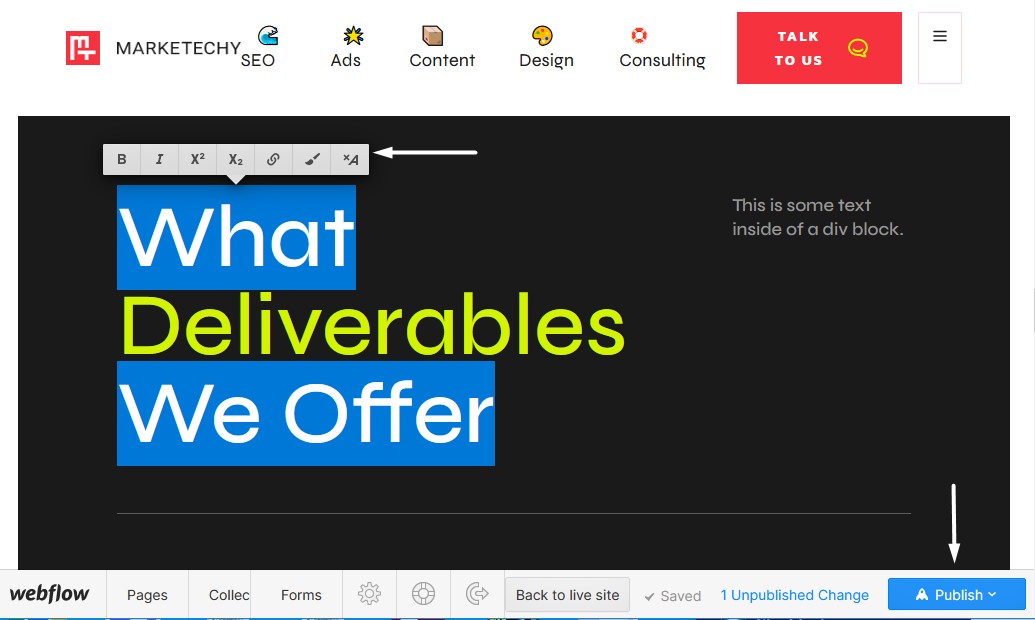
Also, pay attention to the pop-up text formatting toolbar that appears upon the selected text. You can make corrections on one page and head to another one you wish to work on but don’t forget to press “Publish” to submit all changes at the end.
#3. Image Alt Text Editing
A lot of webmasters overlook filling out alt attributes for images. Nonetheless, it matters a lot when developing a truly SEO-friendly website. We’d recommend you provide informative descriptions for unique and informative images that depict anything related to your product or services: team photos, promotional photoshoots, visual creatives, graphs, etc.
In terms of Webflow SEO optimization, alt texts are essential for two reasons:
1) Your pictures can appear in image pack results if the alt description is relevant to the search query. Potentially, you can gain additional traffic, which is never redundant.
2) It provides accessibility for people with vision impairment. The screen readers can voice alt text to render image content.
Pay attention to naming to optimize images from your media library correctly. Human-readable names for image files are a must as search engines recognize their relevance.
Also, don`t forget about WebP image conversion. That’s a rather helpful native feature that positively impacts Webflow SEO optimization empowering faster page loading. Check the official Webflow’s WebP Conversion Tool tutorial to see how it works.
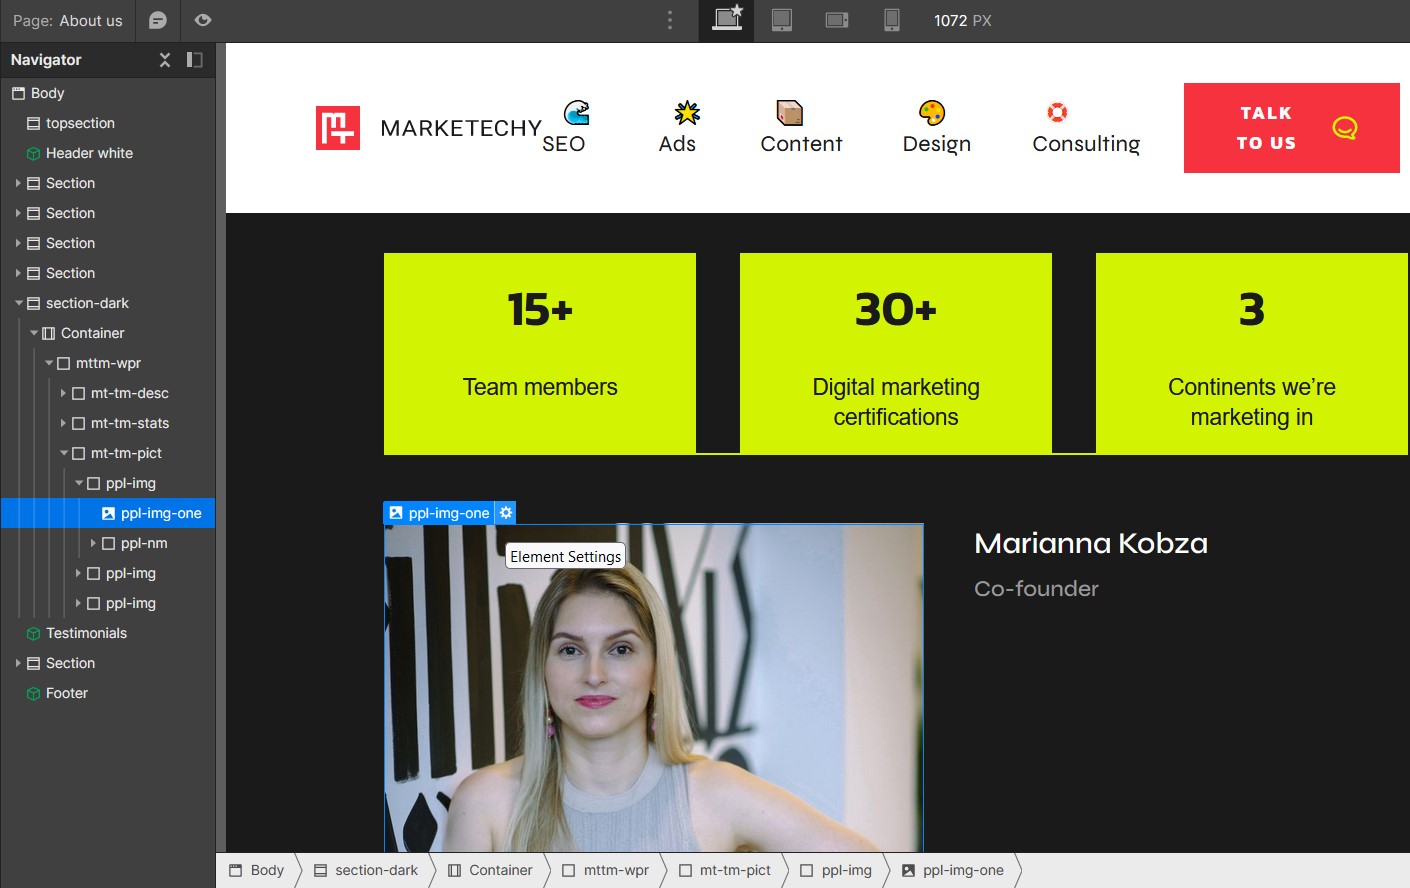
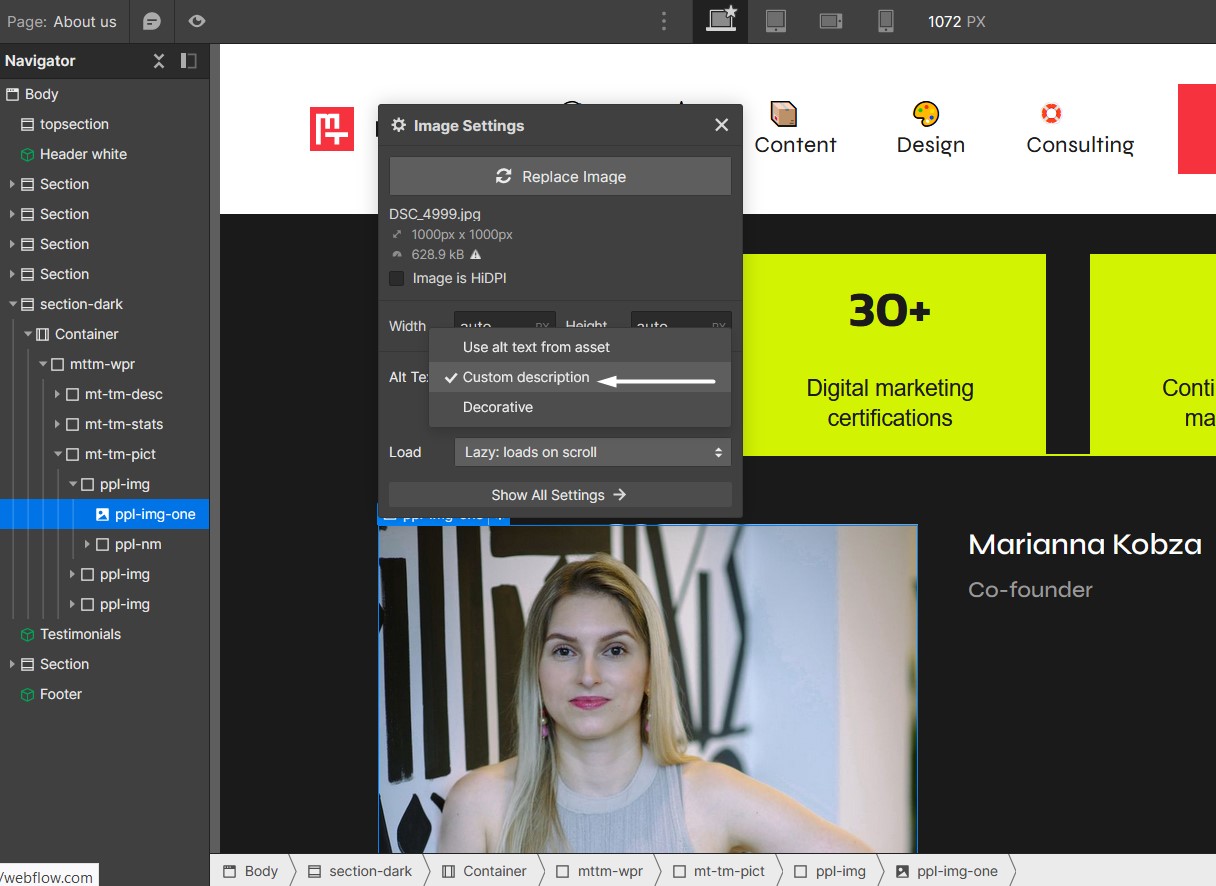
To set relevant and SEO-friendly alt text, go to Designer and select picture assets in the visual editor or Navigator sidebar. Click on the gear icon to open the Image Settings dialogue:
Then choose “Custom description” in the selector next to Alt Text and type down the text description that fits the image content:
#4. Setting Human-Readable Permalinks
It’s essential to implement descriptive and keyword-rich permalinks as it helps site visitors and search bots to identify the purpose of a page. On top of that, you should build page links to reflect your site’s structure:
www.domainname.com/collection/product-category – for product categories
www.domainname.com/blog/blog-article-title – for blog posts
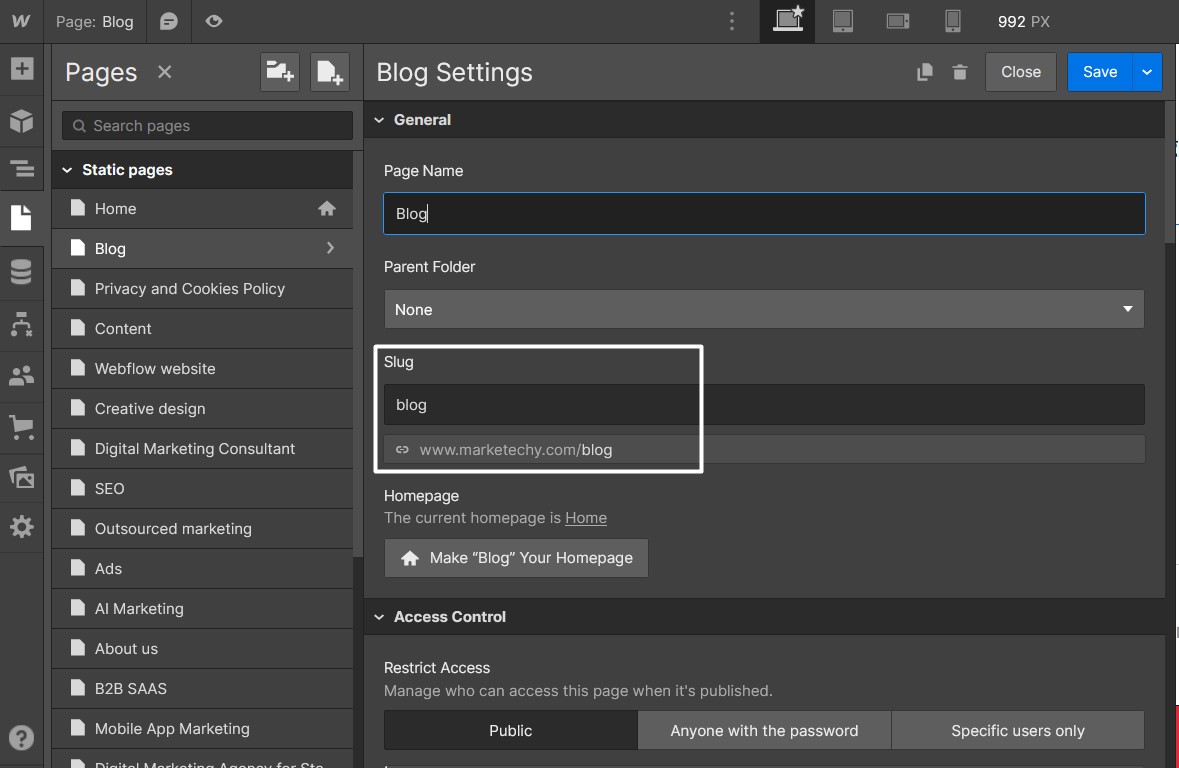
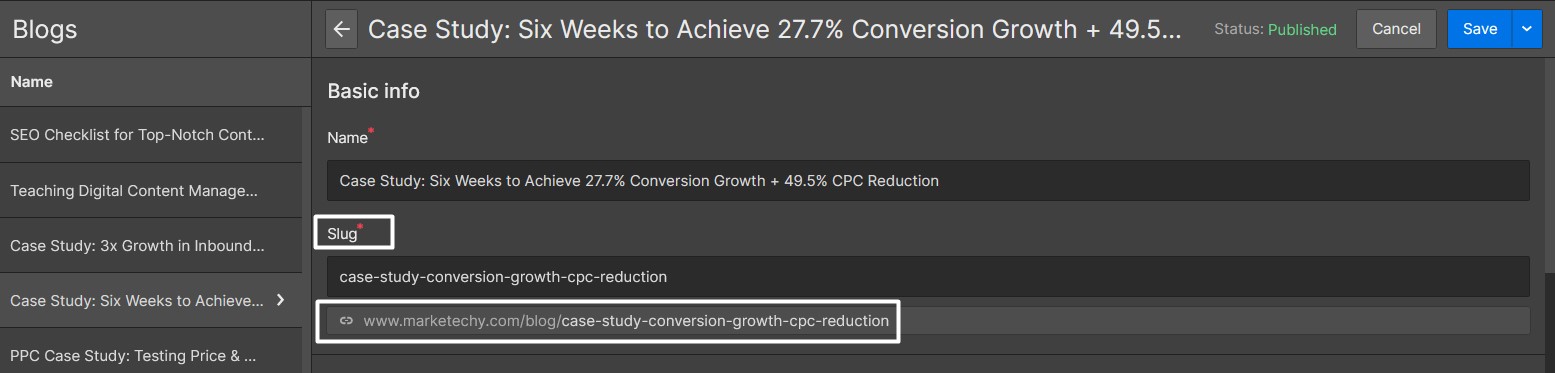
The best Webflow SEO practice shows that the URL slug should look like a shortened version of a page title (H1). For instance, if we post blog titled “ Your 2023 Website Migration SEO Checklist: How to Plan for a Successful Website Migration,” we can leave out filler words, focusing on the main topic of an article, which is website migration essentials:
https://www.marketechy.com/blog/your-2023-website-migration-seo-checklist
Notice that Webflow Designer will automatically mirror your blog page title if you type it down. So don’t forget to shorten it manually before publishing.
#5. Implementing SEO-Friendly Website Architecture
There are some fundamental rules to follow when you develop the information architecture of an SEO-friendly website:
- Consider the main page as a hub with pathways to the most frequently visited categories and pages.
- You should implement categories and subcategories to group pages contextually.
- Most of the internal links should lead to the pages that matter most in terms of Webflow SEO.
- There should be no orphaned pages that aren’t linked from any pages.
Must-Haves for Viable Internal Linking
To implement proper website architecture in practice, work on navigation elements: a set of UI components that ensure a seamless user journey. Those are:
- Global header menu. It has a clickable logo that brings users back to the home page and noticeable navigation buttons that lead users to the desired category.
- Footer navigation links. They list product/service categories and contain utility pages (Privacy Policy, Terms of Use, About Us, Sign in, etc.).
- Contextual links within paragraphs. These appear as clickable text that prompts users on what page they might get to if they click it.
- Content link blocks. Such blocks showcase previews of several pages that belong to the same category. For instance, on our website’s home page, we’ve placed a content link block with graphs from our case studies.
- The Breadcrumb navigation bar is a chain of text links atop the main content that shows a logical pathway to the current page according to the site’s structure. It ensures a quick user flow to parental categories, whether it is a blog or product category.
How Does Internal Linking Benefit Webflow SEO?
Firstly, it improves the depth of crawling, allowing Googlebot to discover and index most of your website content. Secondly, when you set internal links strategically, you distribute authority from pages with considerable link mass to other internal pages. Therefore, you increase their Page Rank, making their positions grow in search results.
How to Customize Internal Links in Webflow
Thanks to the flexible visual constructor, website administrators can adjust the placement of internal link blocks to deliver a smooth browsing experience and navigation for visitors. Such a user-friendly approach significantly improves essential behavioral metrics contributing to overall website rankings.
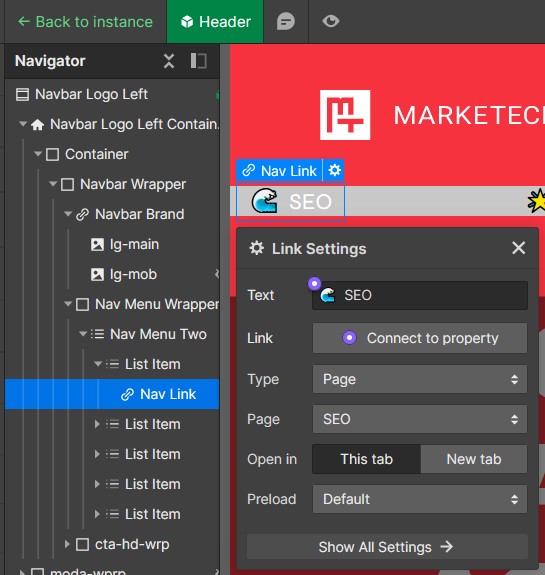
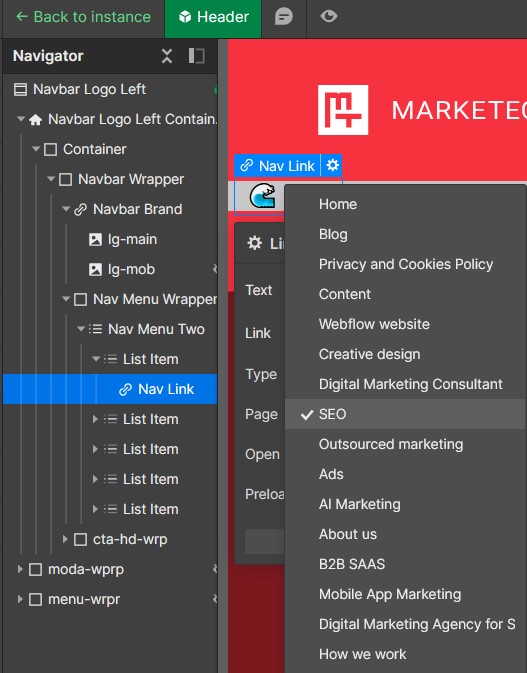
The screenshots below show how you can easily pick the navigation element in Designer and assign a custom internal link to it. Select the text and choose Insert Link from the contextual menu:

The right sidebar with link settings will appear so you can assign a particular type of custom link. You can opt for such options as:
- Outbound URL
- Existing Page
- Page Section
- Email Address
- Phone Number
- File

For internal cross-linking purposes, we recommend using the 'Existing Page' link type, as it helps ensure that links stay live even if the slug of the linked page gets changed. Therefore, if you decide to rewrite a couple of URL slugs one day, it won’t hurt current Webflow SEO achievements.
In the same manner, you can edit an internal link from any navigational menu – just pick them from the visual layout constructor or use the Designers Navigator sidebar: